The world
Military, traps and defence
Sooner or later, someone will come to take what you have built. A fortress that has thought about its front door, its walls and its soldiers before that day has a very good chance of seeing the next one.
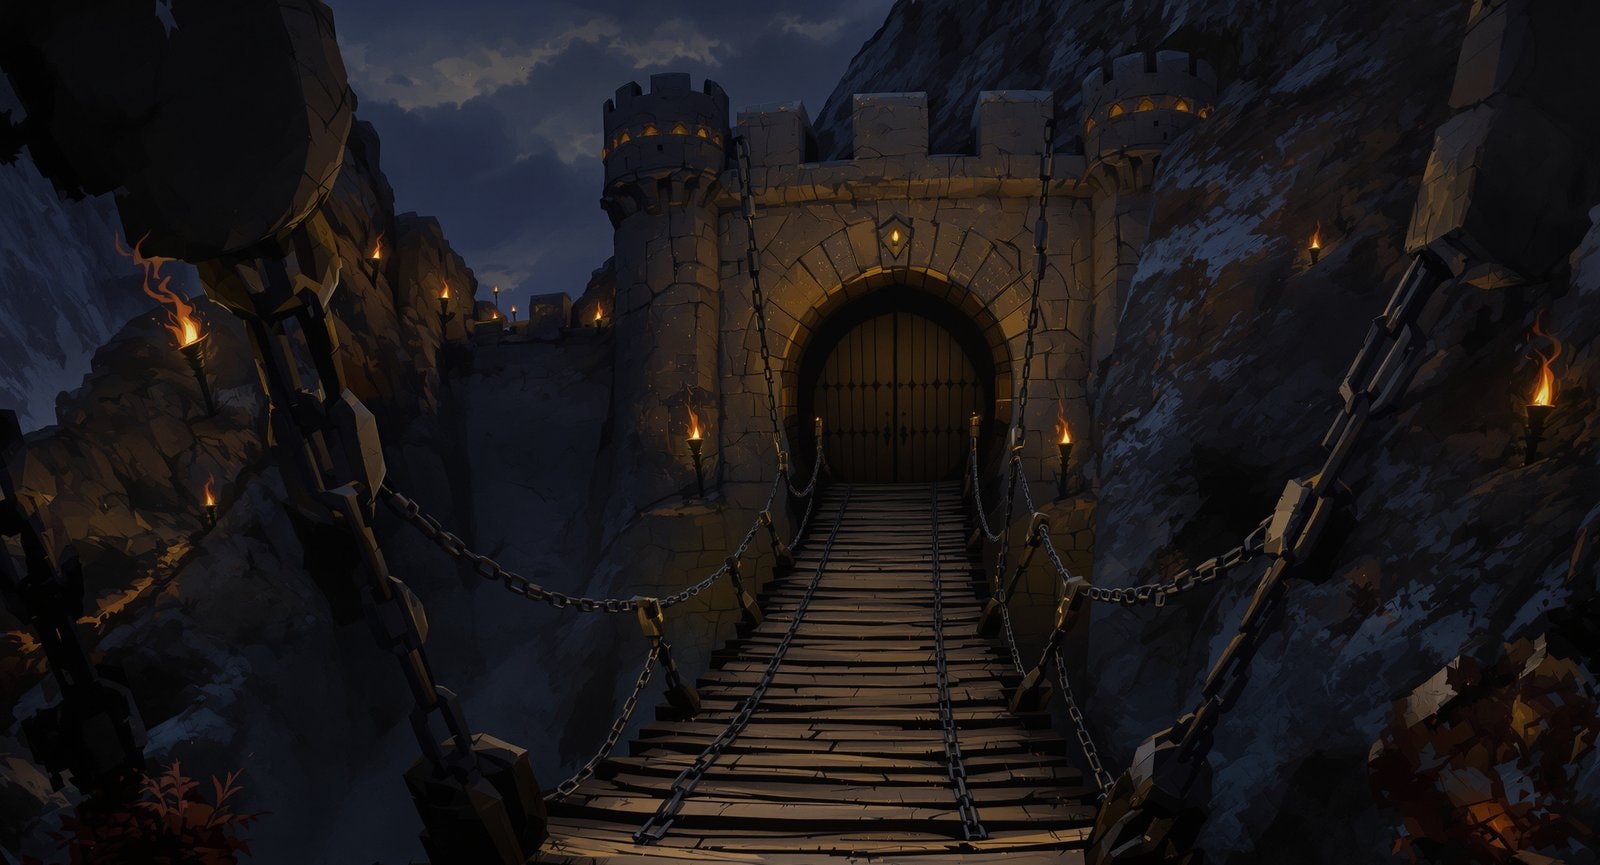
Defence in Dwarf Fortress is a mixture of architecture, machinery and people. The strongest fortresses use all three: a layout that forces attackers into a narrow approach, mechanisms that can seal that approach instantly, and a trained military for whatever gets through anyway. This page covers the general principles. The exact numbers, equipment tables and military menus vary by release, and the official wiki keeps them current.
Why a military matters
The official wiki's military page counts the military among the most vital parts of any fortress that hopes to last, and notes that even with traps, drawbridges and other defences, soldiers will still be needed to fend off sieges, great beasts and things from underground. It describes a system of squad orders and scheduling that can produce offensive, defensive or balanced arrangements. That is a fair summary: walls buy time, but somebody eventually has to fight.
Squads, training and equipment
Soldiers are organised into squads, each with a leader and a set of members. Squads can be scheduled to train, to patrol, to guard particular places or to stand ready. Training raises combat skills over time, so a squad that has spent a year practising is far more dangerous than one assembled in a panic when the goblins appear.
Equipment matters as much as skill. Soldiers need weapons, armour, shields and helmets, and the quality and material of each makes a great difference. Metal armour and weapons, especially from better metals, are a major reason fortresses invest in the chain described on the stone, ore and metal page. The official page also warns about an old trap: some civilian jobs, such as mining, woodcutting and hunting, come with their own tools that conflict with military equipment, so dwarves assigned to those jobs make poor soldiers.
A few general habits:
- Start early. A small squad trained from the first year beats a large one formed on the day of the siege.
- Give soldiers somewhere to train near the entrance, with a barracks for their equipment.
- Keep them healthy. Injured soldiers need a working hospital, as the wounds and anatomy page explains.
- Do not strip the fortress. Every soldier is a worker who is not farming or brewing. Balance matters.
Sieges
As a fortress grows richer and more populous, it attracts attention. The official wiki's siege page describes a siege as a full-scale attack by another civilisation, a step up from an ambush, and puts their objective bluntly: to exterminate every dwarf in the fortress, or die trying. It also notes that a trade caravan will not arrive at a fortress already under siege, which means a siege left unbroken can cost you a year's trade as well.
A siege typically arrives as a force that gathers near the fortress and then advances. The first response for most fortresses is to close the doors: raise the drawbridge, lock the gates, bring everyone inside. From there, the choice is whether to wait behind the walls, let traps do their work, or send the military out to break the siege.
Walls and drawbridges
The foundation of defence is being able to shut the fortress. A single entrance, protected by a raising drawbridge linked to a lever inside, lets you seal the fortress in a moment. The mechanisms and power page covers how bridges and levers work. Walls around surface areas and a moat in front of the entrance make it harder for attackers to find another way in.
Remember that the fortress is three-dimensional. Attackers may climb, fly or dig. A wall with nothing above it can be climbed; a surface area with no roof can be entered from above. Think about every approach, not just the obvious one.
Trap corridors
A classic defensive design is a long entrance corridor lined with traps. Every attacker who wants to reach the fortress must walk its length, and every step risks triggering something. Traps are built with mechanisms, so a fortress with a steady supply of them, and a mechanic to install them, can build a formidable approach over time.
Many trap types exist, and their effects range from gentle to extremely unpleasant. The simplest and most versatile is the cage trap.
Cage traps
A cage trap closes a cage around a creature that steps on it, holding it without harming it. They are cheap, reliable and useful for far more than defence. A cage trap corridor can stop a small raid entirely, and caged creatures can be kept, studied or trained. Many players use cage traps to catch wild animals for their own purposes, some of which lead to the war animals that guard the gate.
Watching for trouble
Good defence depends on warning. The game announces arrivals, and a fortress with a clear view of its approaches, or war animals stationed at the entrance, notices trouble sooner. Keep an eye on the surface, especially if your woodcutters and farmers work out there. Most early casualties are civilians caught outside when something hostile arrives.
After the battle
A siege broken is not the end of the work. The wounded need care, the dead need burial, and the survivors need time to grieve, or the victory can turn into the kind of spiral described on the needs and happiness page. Repair the defences, restock the traps and train the replacements. There will be another one.